
Overview
The hike between Pico do Areeiro and Pico Ruivo is one of the most challenging hikes in Madeira. It is also one of the most rewarding, both in scenery and in giving your calves and hamstrings a workout. This article provides details of the hike to give the reader an idea of what to expect and may be better prepared to be successful.
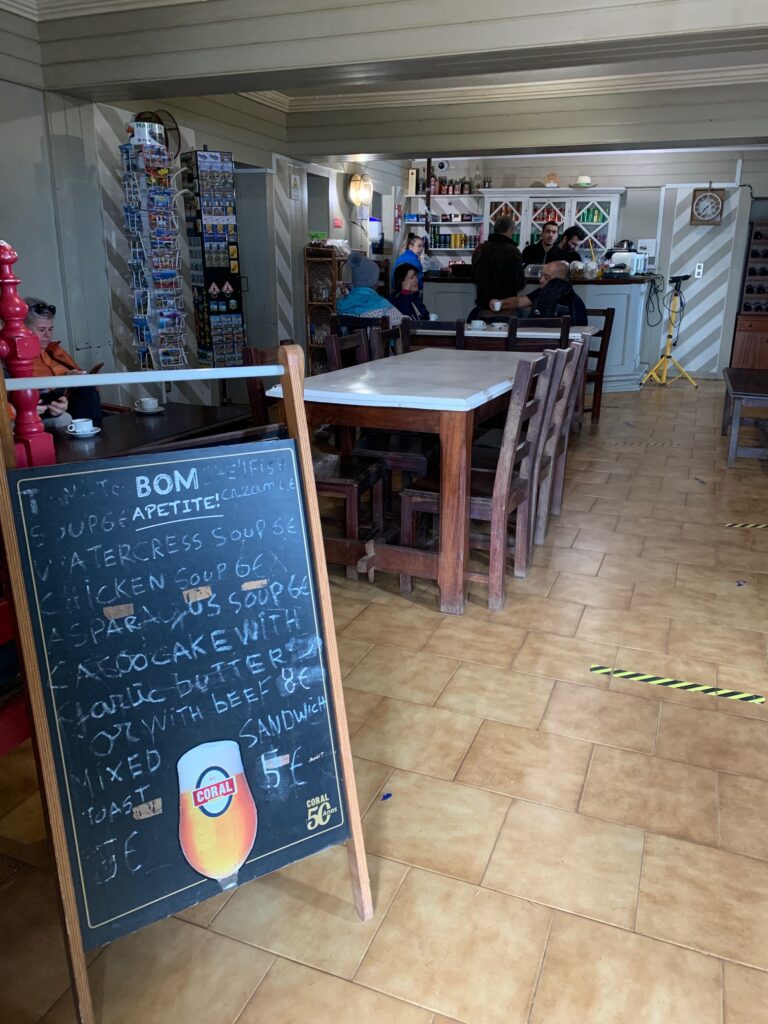
The trail that connects the two peaks is designated as PR1. It is an out and back trail. Fortunately, there is Casa de Abrigo do Pico Ruivo’s snack bar/cafeteria just half a kilometer below Pico Ruivo. According to the posted information at the trail head, the distance between the two peaks is 6.9 kilometers (4.2 miles) one way. PR1 begins at an elevation of around 1,800 meters at Pico do Areeiro, then drops down to 1,500 meters about midway before climbing back up to about 1,870 meters at Pico Ruivo. Majority of the trail that is on an incline is cobbled stone and relatively even across. The middle portion of the trail which is relatively flatter is natural dirt with occasional stones jutting out of the ground.

It may be misleading to think that the total elevation gain for a round trip excursion is 670 meters or roughly 2,200 feet. AllTrails lists this hike as having a total elevation gain of 3,871 feet. What is missing from the trail head posted information are the intermediate elevation changes throughout the trail where you go up only to go back down after reaching a ridge or saddle.
Weather
I tackled this hike in late February 2023. Not the ideal time to hike this trail as the weather is unpredictable in the mountains. It may be bright and sunny down by the sea but it’s a different story up in the mountains. It has its own micro climate. Our hike started out cloudy with the sun occasionally peeking and showing promise of sticking around. But as the day went on, the clouds won the battle and gave way to rain in the afternoon.
Parking
There are two parking lots for Pico do Areeiro. The first parking lot is less than a kilometer below the trail head. It’s a dirt parking lot designated for hikers. This is where people should park their cars if they plan on doing the hike. The second parking lot is at the visitor center further up the road where there is a snack bar and a couple of souvenir shops. However, parking at the visitor center is limited to one hour.
We arrived at the hiker parking lot around 8 AM. The outside temperature was two degrees Centigrade according to our car’s instrument cluster. Clouds were heavy and the wind was blowing. We had to put on four upper layers plus a bottom base layer for our legs. Having a good rain jacket is a must here in our opinion. Not only it protected us from the rain later in the hike but it shielded us from the wind chill from the blowing wind.
The trail marker is across the road from the hiker parking lot. It is not the actual trail head but the trail going to the trail head. The trail marker shows 800 meters to get to the PR1 trail head that starts just behind the visitor center. But it’s going up. From the hiker parking lot, it’s a wide dirt path until it crosses the road. On the other side of the road, it transitions into a stepped dirt path being held by small timbers. The stepped timbered path ends up at the visitor center parking lot. From there it’s less than a couple of minutes to get to the PR1 trail head.
The Hike to Pico Ruivo from Pico Areeiro
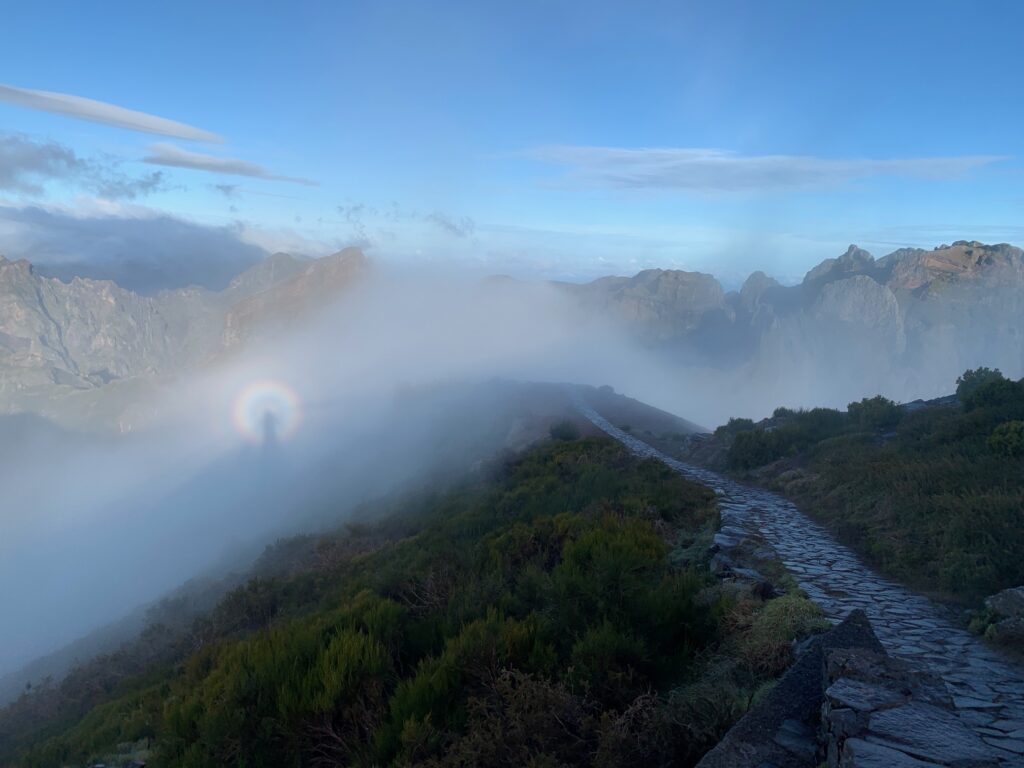
Our legs were now pretty much warmed up when we arrived at the trail head. We hung around the trail head for about 10 minutes because the sun and the clouds were dueling it out to see who would win. It produced a nice halo rainbow with the mountains in the background.
The trail marker shows 6.1 kilometers to the Oeste (West) side of Pico Ruivo and 7.0 kilometers to the East side (6.9 or 7.0, well chalk it up to rounding error). The tail immediately drops down after the trail head. Though wet, the cobbled path was not slippery. For the first 2.2 kilometers, the trail would be undulating where it would go down, only to go back up after reaching a ridge or a saddle. The first point of interest is the Minho da Manta which is a short side trail to the right leading to a viewpoint. After the Minho da Manta turn-off, the trail turns to the left and climbs up to get to the ridge. The trail continues to follow the ridge where it has steep drop offs on both sides. It reminded me of the short section of Angel’s Landing in Zion National Park in Utah, USA. But the Portuguese must have safety always on their mind or that they care about the people that use the trail as they conveniently constructed cabled fences to keep hikers on the trail.
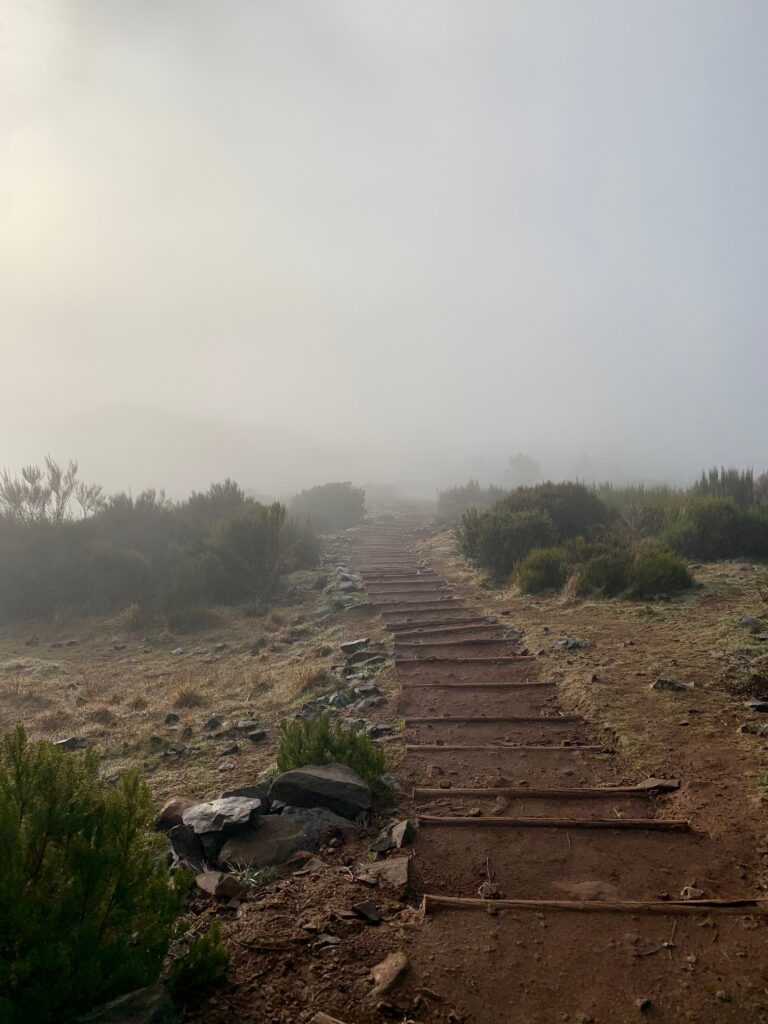
The trail follows the ridge for less than a kilometer until it goes down to Pedra Rija. Be sure to look back when you get to Pedra Rija as the trail seems to look like the stairway to heaven with the clouds hanging at the higher part of the trail.
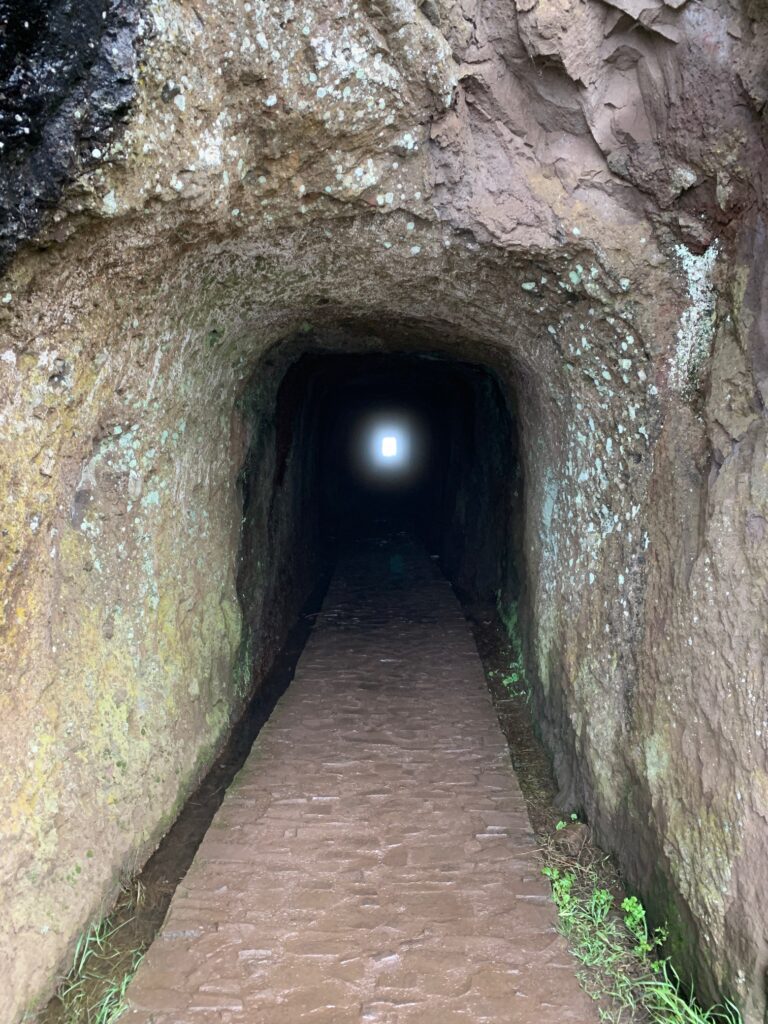
From Pedra Rija, the trail hugs the side of the mountain where it’s three to four feet wide in most places. It then continues on a series of steps as it rapidly loses elevation until reaching an arch carved through a large stone. The trail somewhat eases in elevation drop and becomes more gradual compared to earlier sections until the entrance of Tunel do Pico do Gato. The tunnel is around 100 meters long but straight with a stone surface. More steep series of steps follows after the Tunel do Pico do Gato until the first intermediate trail marker. This trail marker shows that 2.2 kilometers have been covered and that there is 3.9 more kilometers to Pico Ruivo’s Oeste side. By now, I was thinking of the amount of steps I have to climb up on the return trip.
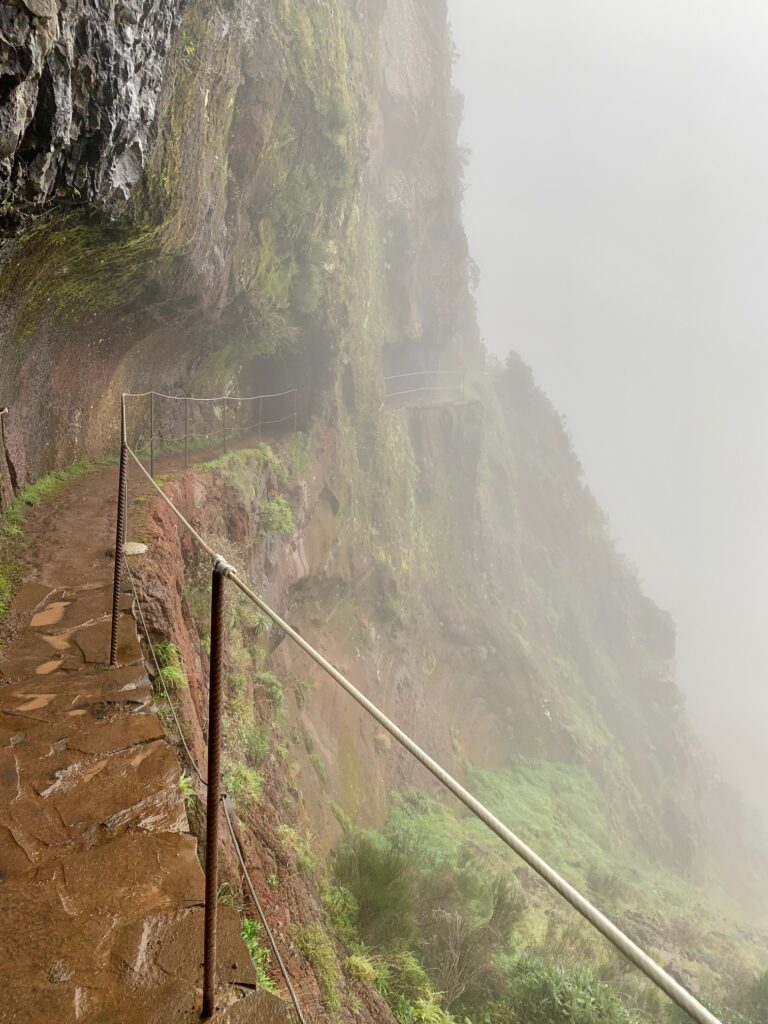
The next 1.5 kilometers provided my knees with some rest from the pounding of stepping down. It’s relatively flat with a few short runs of elevation gains and drops. Also, the trail becomes dirt with the occasional natural stones sticking out. Most of the trail hugs the side of the mountain with steep drop off. There are four more tunnels on the trail, two long tunnels followed by two short tunnels. You will need a headlamp for the next (second overall) long tunnel. I used my cell phone’s flashlight feature and it was not bright enough for me to see clearly the surface while standing up. I had to crouch down a bit to be able to avoid the puddles of mud and water.
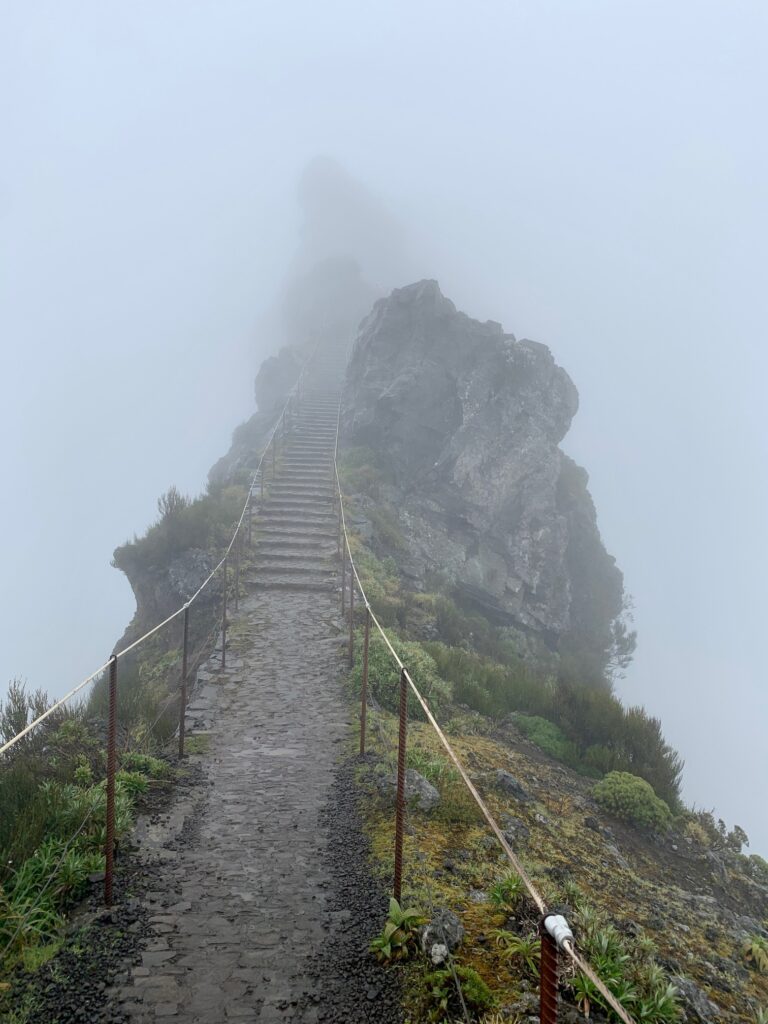
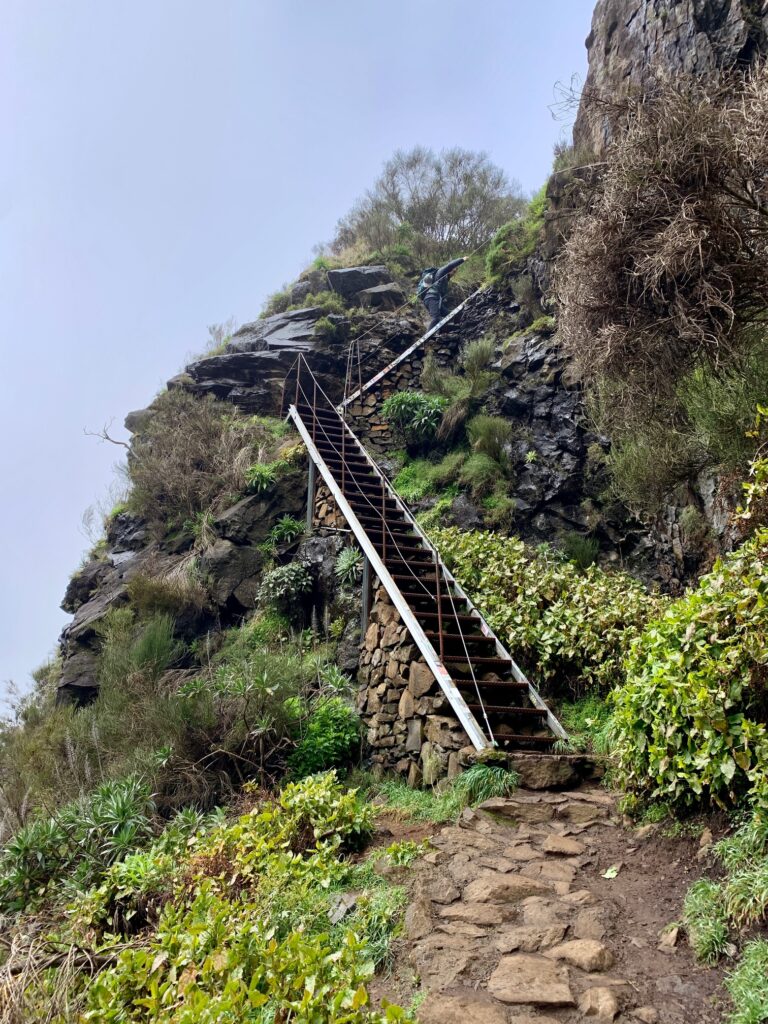
The next trail marker shows there is still 2.4 kilometers to Pico Ruivo. This is where the trail becomes challenging. The trail descends for about 0.5 km before going back up for another 0.5 which is the steepest section of the hike. I was wondering who in their right mind thought that a route almost straight up was a good idea. This section of the trail has three steel stairs and more sections of cemented cobbled steps that are 45 to 60 degrees in incline. This is where I had to pause for a split second or two before taking my next step.
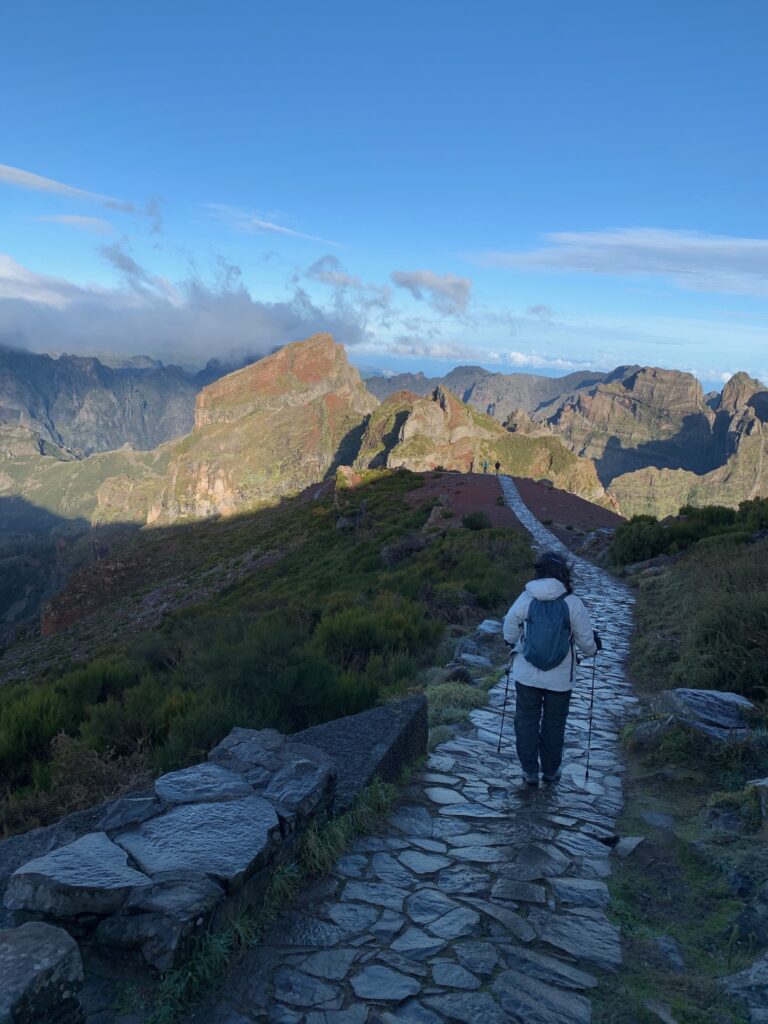
The steps culminate at the top of the saddle where the hiker is offered a view of the valley below and the ocean further in the background. I have been hiking through cloud cover until reaching this point where the sun has finally peeked through. I must be on the other side of the mountain. The saddle is not a wide area, so immediately, the trail goes down in elevation through a short series of cemented stone steps before reaching the cobbled path. If you look to your right, you will see the other trail leading back to Pico do Areeiro (this was closed at the time of our hike).
The next kilometer or so is a gradual incline up to the Casa de Abrigo do Pico Ruivo. There are few successive steps along the way but nothing similar to what was tackled earlier. Within sight of the Casa de Abrigo do Pico Ruivo’s rooftop, there are signs of PR1 variations like PR1.1 and PR1.3. Continue by following the sign that shows PR1.2 to Pico Ruivo. You’ll pass Casa de Abrigo do Pico Ruivo’s courtyard. There are picnic tables in the courtyard where you can pause to eat your snack. Trees are around the courtyard so it offers a barrier from the wind.

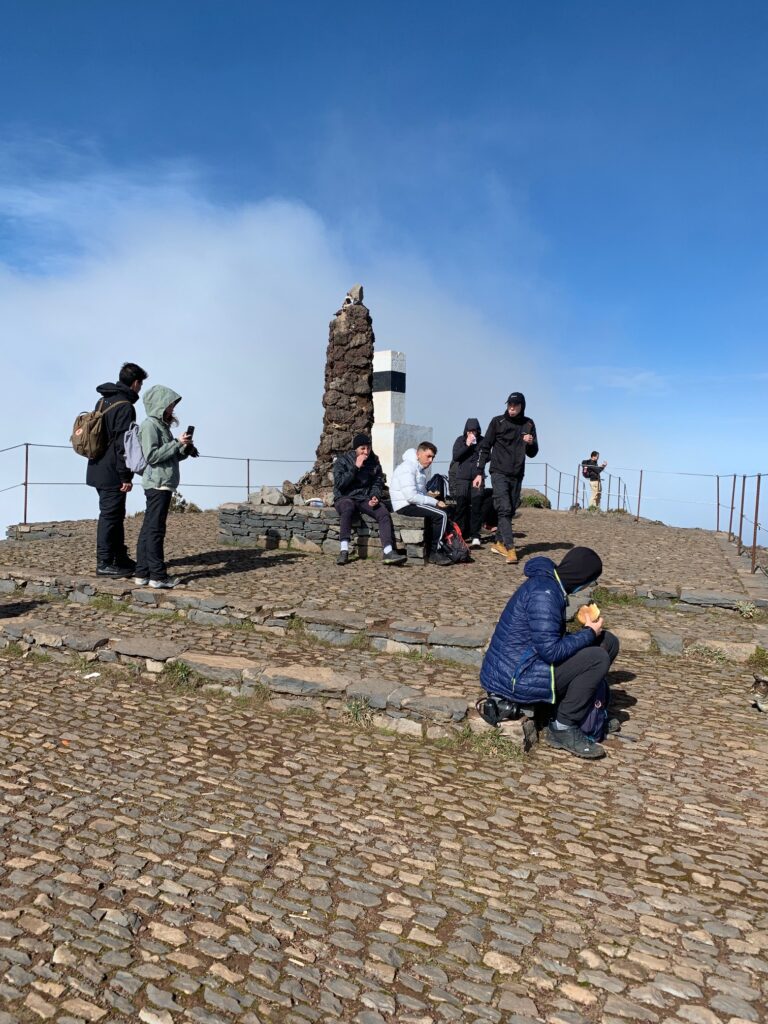
The final half kilometer is more steps going up to Pico Ruivo. The summit is marked by a short stone obelisk in the middle of a cobbled stone area. Here, you’ll have 360 views. The sun was in full force when I arrived at around 11AM but then lost to the clouds 30 minutes later.
The Hike Back
The weather forecast called for rain around 3PM so I headed back just before noon. The sun was playing peek-a boo until I reached the saddle before the metal stairs. Once done with the last meter stairs, the weather started to turn for the worse. It became progressively cloudier until it rained by the time I got through the second to the last tunnel where I had to put on my rain jacket.
Probably the toughest part of the entire hike is the last 2.2 kilometers back to Pico do Areeiro. After the pounding and beating of going up and down for a total of about 11.8 kilometers, I now have to ascend 1,000 feet in less than 1.5 miles to get back to the visitor center. That is probably enough information to make somebody put some serious thought on whether to tackle this hike or not.
Summary
PR1 is a serious hike. Though not very long, you will feel it on your knees and legs when you are done. It is not very high in elevation (just over 6,000 above sea level) so most people will not encounter a brick wall when it comes to the air being thinner compared to the lowlands. I was able to complete the entire hike in about 4 hours hiking time but I consider myself an above average hiker. Not sure how to describe an above average hiker, but if you can do an hour of high intensity interval training (HIIT) without pausing, then you and I are probably at the same fitness level.
February was cool and the weather was not the greatest. On the plus side, there were not a lot of people on the trail. Even though it has been raining in the mountains of Madeira, the trail was not slick nor very muddy. I finished the trail with only a few mud streaks on my pants and shoes.
The trail has no tree cover. The only cover the trail would offer would be from the shade provided by the mountain since most of the trail is carved out from its side. I imagine it can be very hot in the summer when the sun is out at midday.
Know your limitations. This is not for the casual hiker unless you plan on taking all day to do the hike.